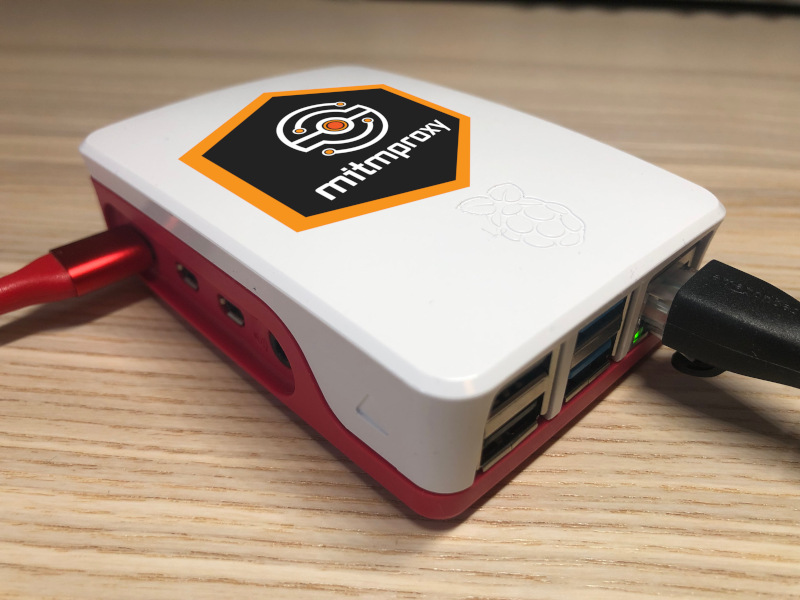
This post is an update to my 2019 page on Running a man-in-the-middle proxy on a Raspberry Pi 3, now revisited and rewritten to accommodate using a Raspberry Pi 4, the current version of mitmproxy (v8.0.0), Raspberry Pi OS (bullseye) as well as changes to how some of the software is installed and configured.
I have repeated much of the original content, especially the overview and explanations, so you do not need to refer back to the original 2019 post.
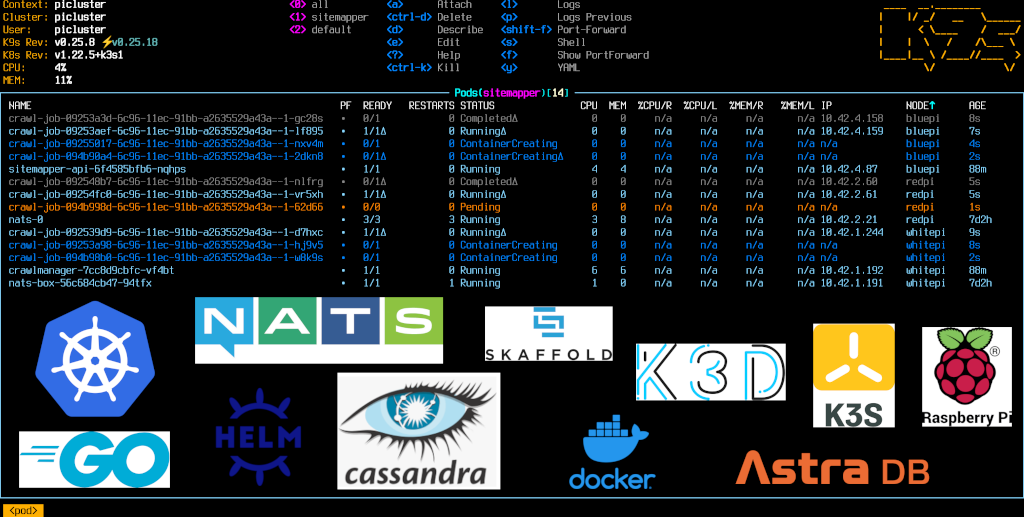
In Part 1 of this project series I created a stand-alone CLI tool written Go to build a sitemap of internal links for a given URL to a specified maximum depth. In Part 2 I describe I how achieved the same result of creating a sitemap, but by distributing the crawl activity using the Kubernetes API to schedule independent ephemeral crawl jobs for each link. I’m using NATS for pod-to-pod messaging and AstraDB (a managed Cassandra DB) for persistence. All of the application code is written in Go.
$ ./sm -s https://google.com | jq
2021/12/31 14:57:26 Using mode: concurrent
2021/12/31 14:57:26 Crawling https://google.com with depth 1
2021/12/31 14:57:26 visiting URL https://google.com at depth 0 with parent https://google.com
2021/12/31 14:57:26 Elapsed milliseconds:  263
[
  {
    "URL": "https://google.com",
    "Links": [
      "https://accounts.google.com/ServiceLogin",
      "https://drive.google.com/",
      "https://mail.google.com/mail/",
      "https://news.google.com/",
      "https://play.google.com/",
      "https://www.google.com/advanced_search",
      "https://www.google.com/intl/en/about.html",
      "https://www.google.com/intl/en/ads/",
      "https://www.google.com/intl/en/policies/privacy/",
      "https://www.google.com/intl/en/policies/terms/",
      "https://www.google.com/preferences",
      "https://www.google.com/search",
      "https://www.google.com/services/",
      "https://www.google.com/setprefdomain"
    ]
  }
]
I’ve really been enjoying my journey in becoming more familiar with Go. One of Go’s strengths is its built-in concurrency primitives, namely goroutines and channels. I decided to practice my Go skills by building a tool which explores some of these features. SiteMapper accepts a root URL and a maximum depth, and then uses one of three modes of operation to crawl the site (synchronous, concurrent and concurrent-limited), building out a sitemap listing links to internal pages.
Part 1 of this project details the stand-alone CLI tool implementation written in Go. Part 2 details an implementation using Kubernetes, where site crawling is performed by ephemeral Kubernetes job pods.
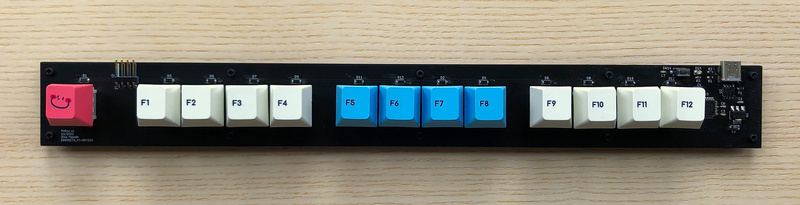
FnRow is a mechanical keyboard I designed and built during the Christmas break. It features a single row of switches in the form of a “function row”. Each switch is configurable and can be programmed to perform as any key on a typical keyboard, or even combinations of key presses. FnRow is akin to a “macropad”, but instead of having a square or rectangular “pad”, the switches are stretched out in a single row. All my hardware and software source files are available on GitHub.
This post details how I used a Python based load test framework (Locust) to perform some simple tests on an HTTP API application using Kubernetes in my Raspberry Pi Cluster.

In this post I go over how I set up my Kubernetes cluster across four Raspberry Pi 4 nodes using k3s, configured persistent storage using NFS, and then installed a simple “todo” API into the cluster using Helm.